How to create a target yoga practice for a specific body area
3Whether we like it or not, most students come to a yoga class to relieve physical tension and get more limber. “My neck is tight today” or “I really need to loosen up my hips” or “My hamstrings could use some stretching” – have you heard requests like these before? So today we will explore what it takes to design an effective practice to target a specific body area. The steps will be the same regardless of what part of the body you are interested in addressing. We will use an example of working with the upper back tension and will use this practice for illustration purposes. Let’s dive right in!
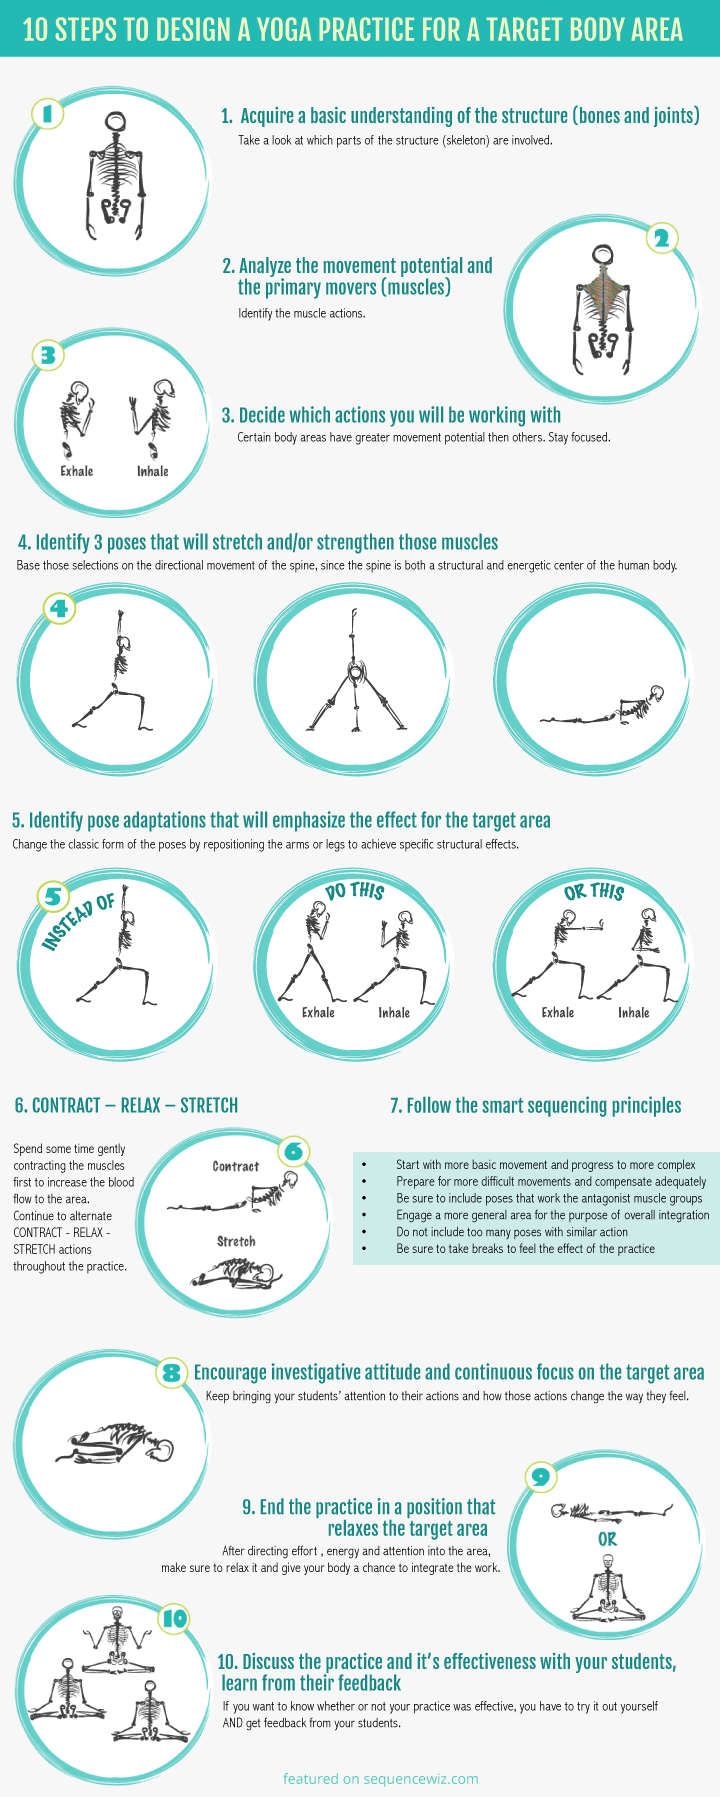
10 Steps for designing a target yoga practice for a specific body area
Step 1: Acquire a basic understanding of the structure (bones and joints).
We do not want to make the mistake of jumping directly into the muscle actions. First we want to look at which parts of our structure (skeleton) are involved.
Example: The upper back is comprised of the cervical spine, thoracic spine, ribcage and shoulder blades, so these are the parts that we will be moving.
Step 2: Analyze the movement potential and primary movers (muscles). 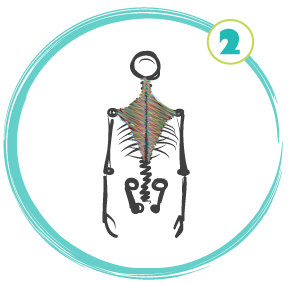
There is no need to be too detailed here. As your experience grows you will be able to go deeper into the specifics of the muscle actions as it becomes relevant to your teaching. A main thing to remember is that muscles work as pulleys, moving one bone toward another upon contracting. Depending on which bones we want to move, we will identify the muscles that do the job. If you know the names of those muscles – great; if not, that’s fine too, since we are mostly interested in MUSCLE ACTIONS.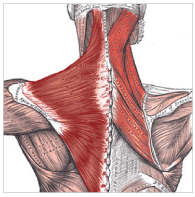
Example: We are interested in working with the muscles that extend the spine (erector spinae muscles) and move the shoulder blades (scapulae) up and in (levator scapulae, rhomboid minor, rhomboid major and trapezius)
Step 3. Decide which actions you will be working with.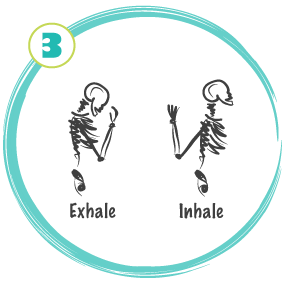
Certain body areas have greater movement potential then others. For example, your hips are capable of flexion, extension, adduction, abduction, internal and external rotation. Does it mean that you should include all of these in your practice? Certainly not. You can do a little bit of everything OR or you can work with hip adduction/abduction separately from hip flexion/extension. However, when you make those decisions, make sure that you include agonist/antagonist actions.
Step 4. Identify 3 poses that will stretch and/or strengthen those muscles.
It is always best to base those selections on the directional movement of the spine in each pose, since the spine is both a structural and energetic center of the human body.
Example: We’ve identified that we are primarily interested in spinal extension (bending back) and scapular adduction (moving in). Choosing back bending postures will take care of the spinal extension; and a twisting posture will take care of scapular adduction. 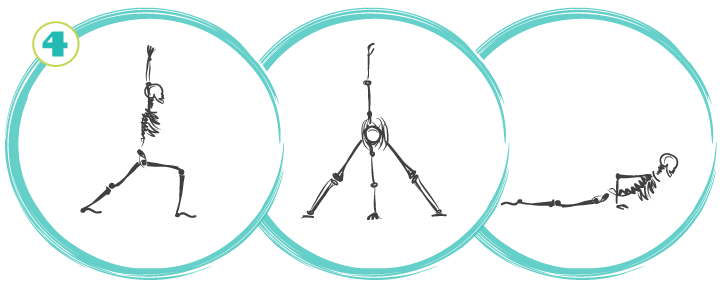
Step 5. Identify pose adaptations that will emphasize the effect for the target area.
Classical forms of postures are not always the best at targeting the specific area. In many poses we can change the form slightly by repositioning the arms or legs, for example, creating a Pose Adaptation. Pose adaptation is one of the most effective tools we as yoga teachers have to achieve very specific structural, energetic and mental-emotional effects.
Example: Classical form of Virabhadrasana will not be as effective for the upper back as we would like it to be. So we can change the arm movement to emphasize the upper back a bit more. Now we get spinal extension and scapular adduction all at the same time. That’s multitasking in the best possible way! 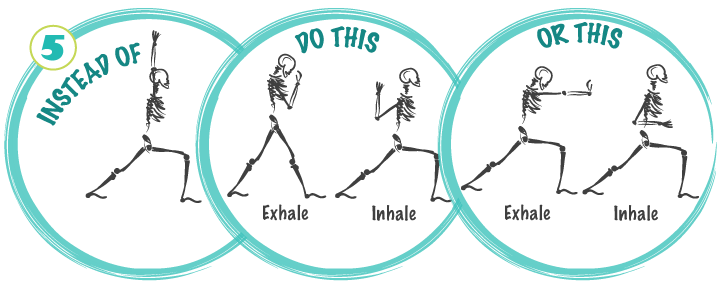
Step 6. Follow the CONTRACT – RELAX – STRETCH template. 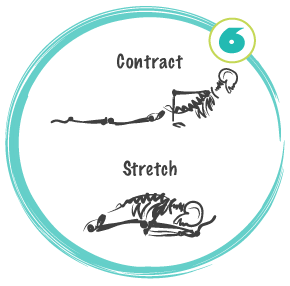
Do not jump into stretching the tight area right off the bat. Spend some time gently contracting the muscles first to increase blood flow to the area. Continue to alternate CONTRACT – RELAX – STRETCH actions throughout the practice.
Example: We might be tempted to do some sort of an upper back stretch at the beginning of the practice. It won’t be effective if the muscles are tight, so that’s just a waste of time. This time is better spent warming up the area by gentle contraction.
Step 7. Put everything together following smart sequencing principles:
- Start with more basic movement and progress to more complex
- Prepare for more difficult movements and compensate adequately
- Be sure to include poses that work the antagonist muscle groups
- Make sure to involve a more general area of the body, not just a specific muscle group. Remember – our goal is integration of the body
- Do not include too many poses with similar action – that can create cumulative stress
- Be sure to take breaks to feel the effect of the practice on the target area
Step 8. Explain your intention to your students and encourage investigative attitude and continuous focus on the target area. 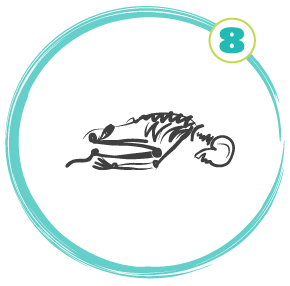
Throughout the practice keep bringing your students’ attention to what they are doing and how their actions gradually change the way they feel.
Example: In our sample practice we’ve used gentle forward bends throughout the practice to counterbalance stronger poses, to relax the upper back and to deepen awareness by focusing on the breath.
Step 9. End the practice in a position that facilitates a complete relaxation of the target area. 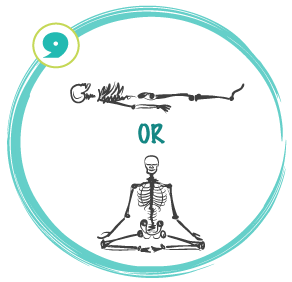
After spending all this time directing effort , energy and attention into a specific area, it is essential to relax it and give your body a chance to integrate all the work that you’ve put into it. It doesn’t have to be Savasana.
Example: In our sample practice we’ve used a comfortable seated position as a place to relax and expand the upper back. It also gave us a nice transition into a seated meditation that had the same purpose of relaxing the upper back musculature.
Step 10. Discuss the practice and it’s effectiveness with your students; learn from their feedback.
 If you want to know whether or not your practice was effective, you have to try it out yourself AND get feedback from your students. Sometimes we forget that our students may not possess the same level of awareness or attention to subtle details as we do when it comes to a yoga practice. Just because a practice had a certain effect on you DOES NOT MEAN that your students will respond to it the same way. And on top of that, the response will vary from person to person. So don’t be afraid to engage in a discussion with your students, even if their feedback is not entirely positive. This is the only way for us to learn and grow as yoga teachers.
Here is a handy chart to remind you of these basic steps. Feel free to download it and/or share.
Next week we will explore how a strong yoga practice can create repetitive strain shoulder injuries. Tune in!
[jetpack_subscription_form]






Olga this is an awesome post; love your content and presentation. With regards to informing my teaching, it is extremely helpful. I plan to share this information with other teachers I know.
Thank you Pamela; please spread the word!
Hello Olga, thank you for this article, it is a great help for my classes. I report to my colleagues.
Namaste