
How to create a short targeted yoga practice for physical tension
4Every time I have a yoga video shoot with my videographer I feel slightly guilty. He usually crouches down behind the camera to record my yoga practice. While I feel great after moving for an hour, he gets up stiff and creaky. That’s why he loves it when I use him as my yoga model – that way he gets to move!
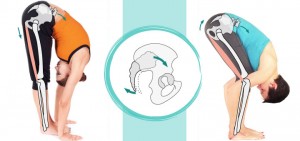
Folding the body into weird shapes is an occupational hazard for many people, whether it’s sitting a lot, standing a lot, carrying heavy equipment, holding the arms up for hours (like hairdressers do, for example), lifting heavy things, crawling on hands and knees, and so on. Short yoga practices that address the parts of the body that become tense during the day can be very useful for managing tension in a timely manner and preventing it from becoming a chronic problem.
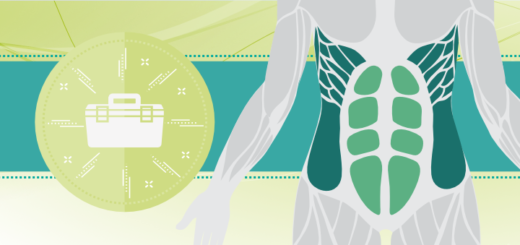
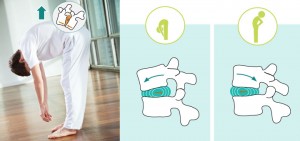
When we design a short yoga practice for a specific body part, our primary goal is to increase circulation to the target area. That is why dynamic movements work better then static ones, and contracting the muscles works better than stretching them. Here is a simple template for creating a short targeted yoga practice. Let’s use it to create a short practice for the hip flexors for folks who sit a lot during the day, but also have an opportunity to roll out the mat and do some quick yoga on the floor.
Step 1: Identify the target area. (We will be targeting the hip flexors.)
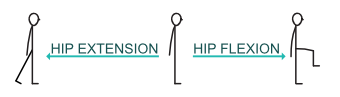
Step 2: Specify what kind of movements you will use to target it. (Hip flexors are actively involved in flexing of the hip and passively involved in extending of the hip.)
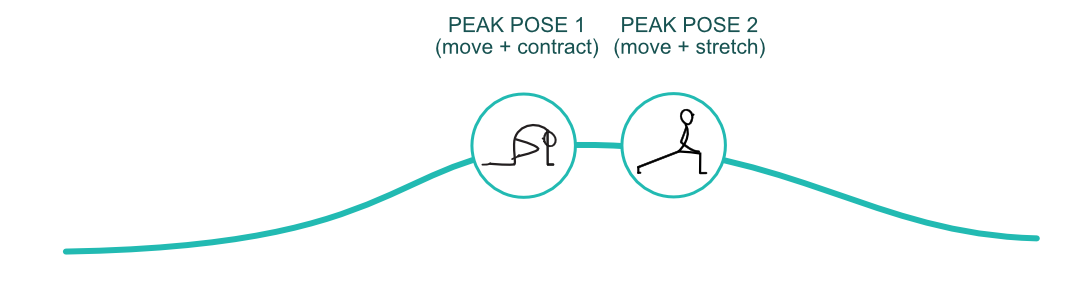
Step 3: Pick one pose that engages the target area and increases circulation to it, and one pose that gently stretches it. This will be the peak of your practice. (For hip flexors we will use an adaptation of Cat pose (Marjariasana) to contract them and Lunge pose (Anjaneyasana) to stretch them.)
Step 4: Pick 1-2 dynamic poses that will prepare your body for the peak pose and 1-2 poses that will compensate for it. (We will use Chakravakasana and Vajrasana to warm up the hips, and Child’s pose to compensate.)
Step 5: Pick the starting position (supine, seated, kneeling or standing) that is best suited for your target area. It is also useful to take into account your own personal preferences, time of day you will be doing the practice and your space set up. (We will start in a comfortable seated position on the floor which works for many scenarios.)
Step 6: Pick the ending position (supine, seated, standing). You will need to decide which resting position would help to relax the target area, and what would be the best position to transition you to whatever you want to do next (rest and absorb, breathe and meditate, or move on with your day). (We will finish with the feet up on a chair because it allows the hip flexors to relax fully and will enable us to do a short visualization for the hip flexors.)
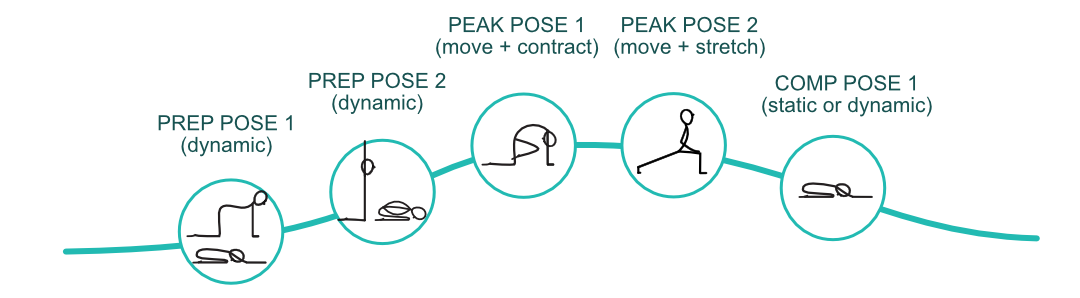
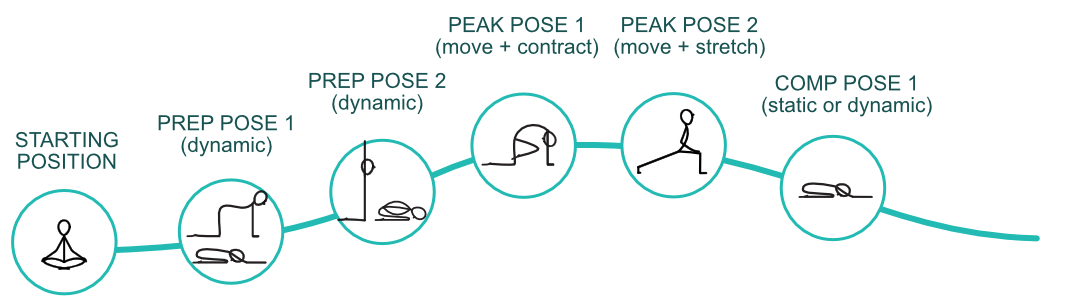
Your short target practice will look like this:
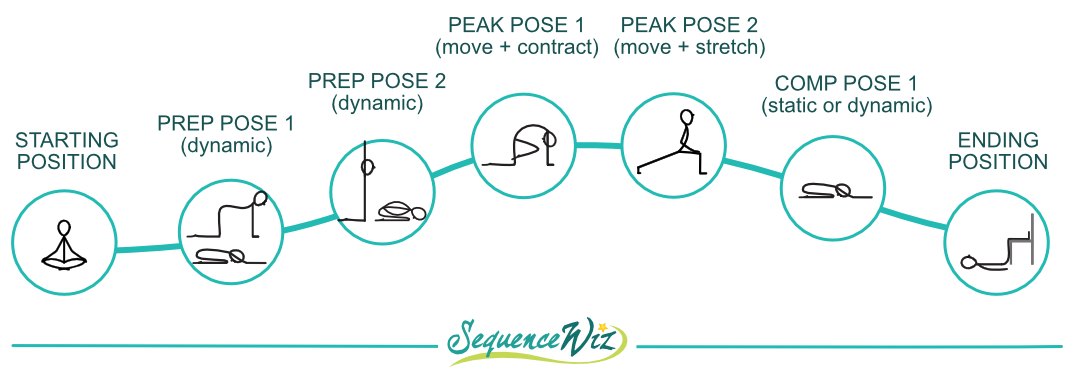
Starting position – Prep pose 1 (dynamic) – Prep pose 2 (dynamic) – Peak pose 1 (to strengthen the target area, dynamic then static) – Peak pose 2 (to stretch the target area (dynamic then static) – Comp pose 1 – Ending position.
If you have more time, you can have more than one peak. Then your practice will look like this:
Starting position – Prep pose 1 (dynamic) – Prep pose 2 (dynamic) – Peak pose 1 (to strengthen the target area, dynamic then static) – Peak pose 2 (to stretch the target area (dynamic then static) – Comp pose 1 – Peak pose 3 (to strengthen the target area, dynamic then static) – Peak pose 4 (to stretch the target area (dynamic then static) – Comp pose 2 – Ending position.
And that’s it! There is no need to be too creative or intricate with short yoga practices – they need to be easy enough and clear enough for the student to do on his/her own. The most important part is to move mindfully with the breath. Next week we will feature a 15-minute video of the yoga practice for the hip flexors with two peaks that is designed using this template. Tune in!
[jetpack_subscription_form]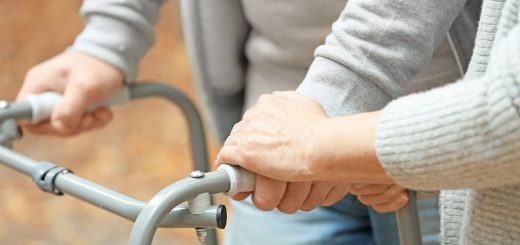


I always enjoy reading your posts and resonate with your approach. Thanks for all the tips Olga
Brilliant explanation. <3
This is great, thank you.
Hi Olga :),
Thank you for amazing posts!
I’m going deeper into anatomy studies and would love it if you could explain two things you wrote-
1. You wrote that hip flexors are passively involved in extending of the hip. Do you mean as antagonists?
2. Regarding the ending pose- you wrote “we will finish with the feet up on a chair because it allows the hip flexors to relax”.
How will it allow them to relax if they’re in a contracted state- there is flexion in the hips.
Wouldn’t it be better to put the legs long and flat on the ground?
Thank you so much! 🙂