3 steps to safer, more effective twists
2The best image that seems to help students get a hang of twisting postures is the image of “wringing out the towel”. To be able to effectively wring the water out, you need to pull both ends away from each other and then twist them in the opposite directions. It is the same with any twisting posture.
Here are the three steps that we need to follow to make twisting more effective:
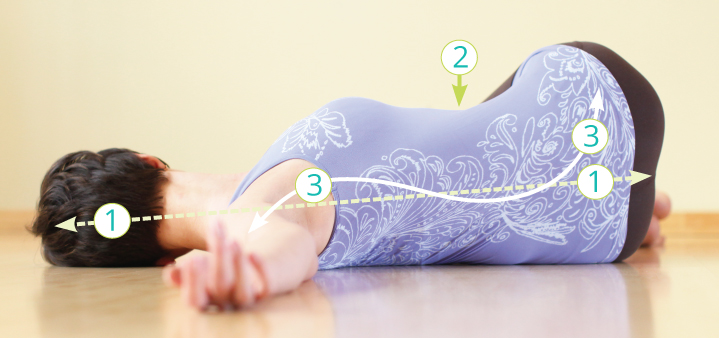
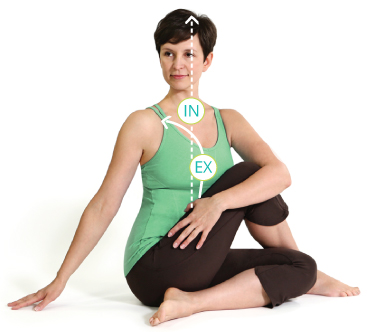
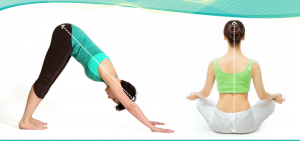
Step 1: Lengthen the spine. To be able to twist the spine, first we need to create an axis for rotation. We accomplish it by lengthening from the top of the head to the tailbone on the inhalation. Let’s be clear here – we are NOT trying to flatten the natural spinal curves; we want to maintain the integrity of those curves, stack them on top of each other and then create a bit more space between the vertebrae before we twist.
Step 2: Initiate the twist from the center. Our goal here is to distribute the twist throughout the spine best we can (keeping in mind that lumbar vertebrae can rotate very little). We do that by progressively contracting the abdomen on the exhalation and initiating rotation in the core, and then extending it out into the periphery. If we do not use the abdominal contraction to twist, we will have a tendency to rotate mostly in parts of the thoracic spine and the pelvis, leaving a kind of “twisting dead zone” in the middle of the torso.
Step 3: Turn the ribcage and pelvis in two opposite directions. Once we’ve lengthened the spine and initiated the rotation at the center, we turn the ribcage one way and pelvis the other, similarly to ringing out the towel. In some poses the position of the pelvis will be fixed, which means that only the upper body will rotate. The limbs will FOLLOW ALONG, meaning that applying arm/leg leverage is the absolute last thing we do when we twist, not the first one.
Here is an example:
Inhale: Lengthen the spine
Exhale: Begin to contract the abdomen and rotate the ribcage to the right
Inhale: Unwind from the twist slightly and lengthen the spine again
Exhale: Reengage the abdomen while gradually rotating the ribcage to the right.
Continue to do that as you stay in the pose.
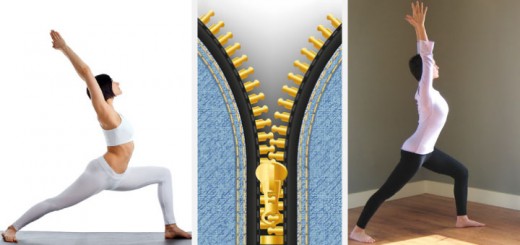
In short: lengthen – zip up – ring out. Failure to do one or more of those things will manifest in the following “release valves”:
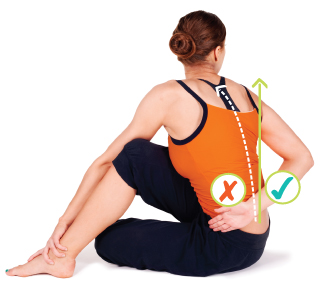
1. Collapsing the chest (because the spine wasn’t lengthened). This inhibits the twist and localizes it to one area of the spine, which means that you will be wearing that area down with every twist you do.
2. Initiating the movement in the periphery, instead of the center will limit the spinal rotation and create “twisting dead zones” in the middle of the torso.
3. “Muscling your way into the posture,” which means using arm leverage instead of core strength to rotate the body. If you use the arm strength to twist, you are more likely to push your body past its twisting capacity and injure your shoulders, hips, and sacrum.
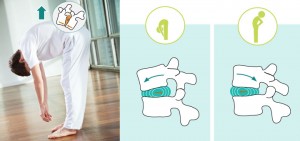
We’ve got to remember that due to the nature of the movement, when we twist the intervertebral disks are compressed. So if the student has any kind of preexisting condition that concerns their spinal disks, the risk of injury increases. Students with moderate to severe scoliosis are also at risk. While many of us have slight asymmetries in our spines, most often our bodies had learned to accommodate them. But when the imbalances are pronounced, the student will have problems with Step #1 – lengthening the spine evenly on both sides – which means that she won’t be able to create a solid axis for rotation. In cases like that it might be a good idea to stay away from deep twisting and instead focus on lateral bending which is excellent for asymmetrical muscle development (we will talk about lateral bending in detail next month), and generally work on strengthening the weaker, less developed areas. It is best to do that sort of work under competent supervision.
Next week we will take a closer look at what happens with your sacrum when you twist, and list the things that you can do to minimize the strain on the sacroiliac joints. Tune in!









Olgaji
Many thanks for.that ‘twisty gyan’.
Clarification: Is it important to square the shoulders down.
Yogicly
Abhinandan
Hi Abhinandan – if I understand your correctly, the question is whether or not we should focus on putting the upper back on the floor in a supine twist? Here we always have a trade off. For some people it’s easy to keep the shoulder down while twisting, for others it is rather difficult. Our goal here is not to hurt the shoulder. So if it is hard for the student to twist without lifting it, we have two solutions: 1. To put something under the knees, like a blanket, so that the twist is not as deep and keep the shoulder on the floor, 2. To let the shoulder lift slightly and place that same hand on the hip, rather then the floor. That way the arm is supported and the shoulder is not stressed. I hope this answered your question!